Mapping MIDI controller parameters for Live Performance in Ableton
This blog is part of our new series of tutorials based on the functions and features included in Ableton for Live Performance using background tracks.
Want to learn how to use Ableton Live in real time, with a professional digital audio trainer? It’s faster than blogs, videos, or tutorials. Call OBEDIA for one on one training for Ableton Live and all digital audio hardware and software. Mention this blog to get 15 bonus minutes with your signup! Call 615-933-6775 and dial 1, or visit our website to get started.
Need a Pro Audio laptop or Desktop PC to run Ableton Live software and all of its features at its best?
Check out our pro audio PCs at PCAudioLabs.
Mapping MIDI controller parameters for Live Performance in Ableton
When you are using background tracks, you might find yourself in situations in which you have a MIDI controller with several knobs, sliders and buttons that you can map to control Ableton.
This will save you the time and inconvenience of having to use the laptop’s mouse to control the software.
Sliders can be mapped to control faders for example. Knobs can control pan positions. Buttons can control the transport bar.
At the end of the day, you are just trying to find ways to save time while performing on stage.
But before using your MIDI controller’s parameters, you must map them to Ableton.
How?
Let’s give it a shot!
-
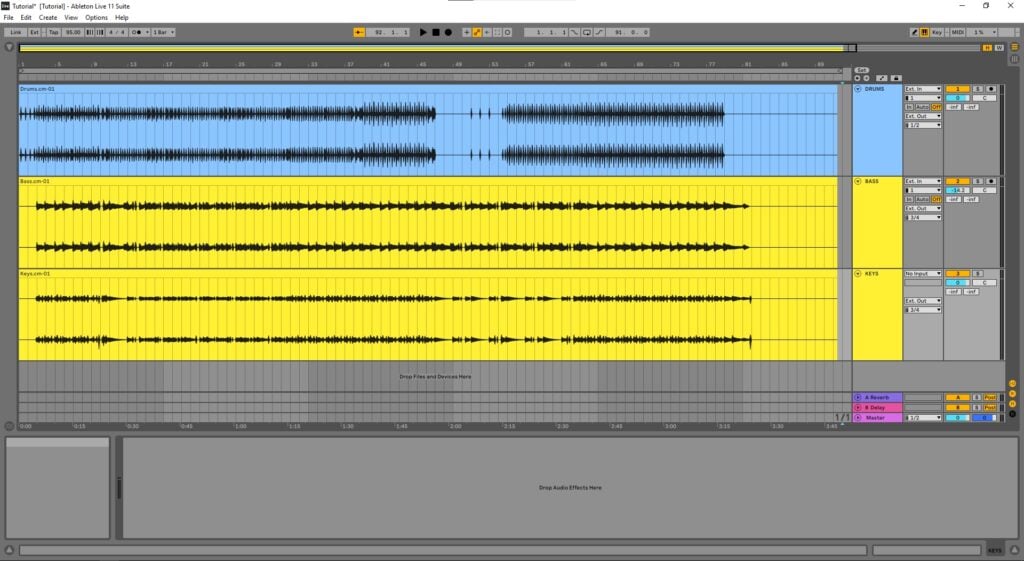
Open your Ableton Live Set:
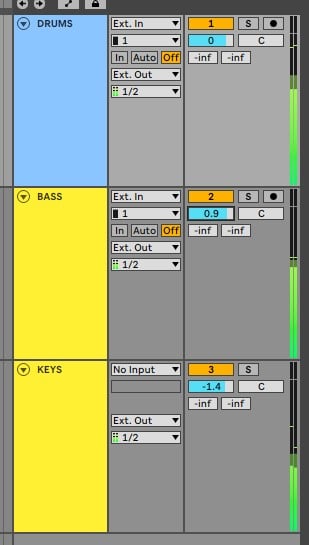
It can be see how we have a stereo “Drums” track routed to outputs 1-2, while we have the “Keys” and “Bass” tracks both going to outputs 3-4.
By looking at this, we can say it would be ideal to have a couple sliders from the MIDI controller, mapped to control the volume sliders of the Bass and Keys tracks in order to “mix” these two from the MIDI controller instead of reaching the mouse! We can actually do this on the fly while playing!
2. Make sure your MIDI controller has been properly set.
If your manufacturer comes with some kind of drivers, install them.
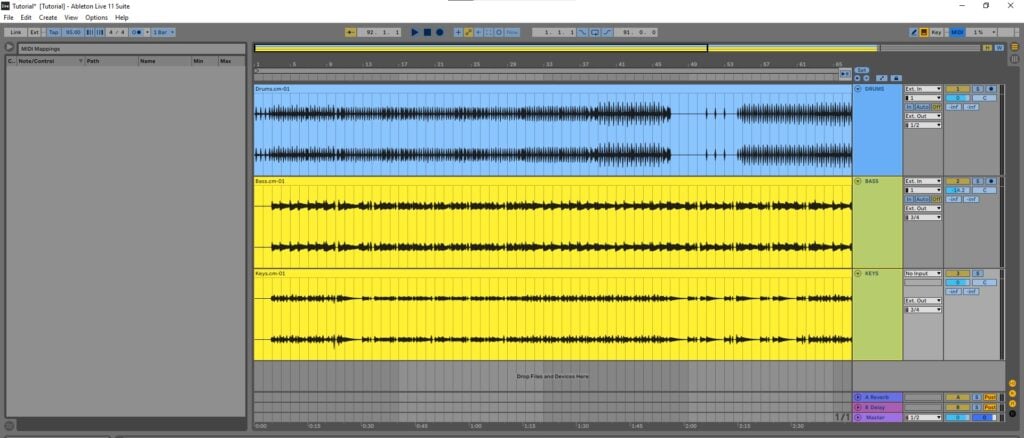
3. On the top right, click on “MIDI”:
It is easy to see how all parameters that can be mapped with MIDI now show highlighted in light blue.
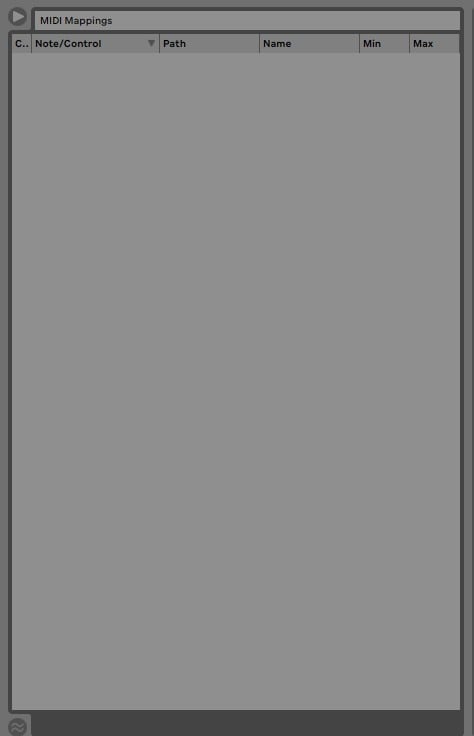
Also, the left tab shows the MIDI Mappings that we currently have in our Set. No mappings have been done, yet.
As we said before, we are trying to map the sliders on the MIDI keyboard to the volume sliders of the Keys and Bass tracks.
4. Click on the Volume Slider of the Bass track:
The slider gets selected as:
5. Move the desired slider of the hardware MIDI controller:
The volume slider now shows as:
Also, the MIDI Mappings list now shows our new mapped parameters as:
6. Repeat steps 3 to 5 for the other slider:
Now both parameters have been mapped as:
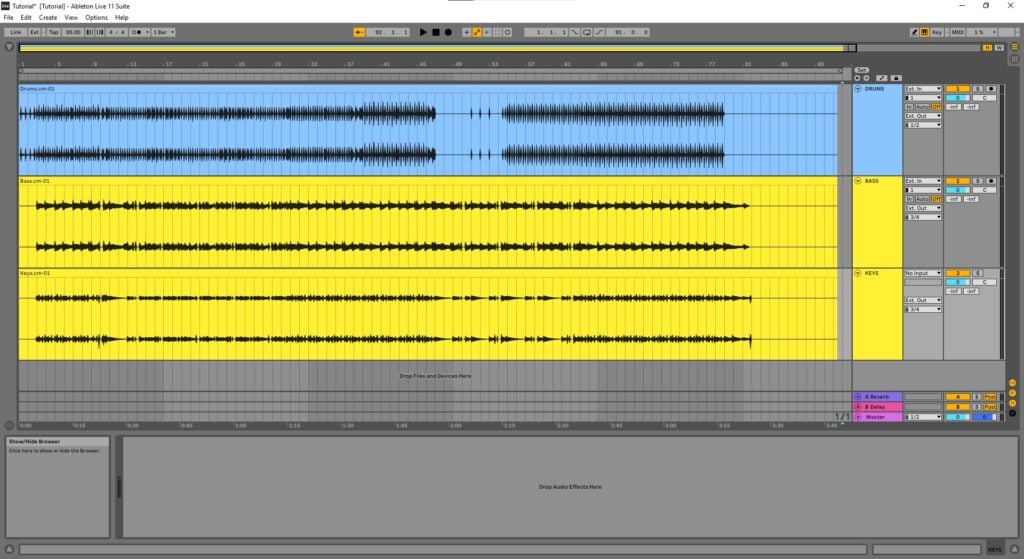
7. Click on the “MIDI” button again on the top right to apply changes:
You can now move any of the physical controls of your MIDI keyboard to control the parameters in Ableton.
And that is it! Now you know the process of Mapping MIDI controller parameters for Live Performance in Ableton
Using Ableton Live software to produce music would be ideal with one of our professionally designed PCAudioLabs Systems due our high-performance specifications in order to work with any of the Digital Audio Workstations supported. If you would like to order one of our PCAudioLabs computers, please call us at 615-933-6775 or click this link for our website.
The post Mapping MIDI controller parameters for Live Performance in Ableton appeared first on PCAudioLabs.
